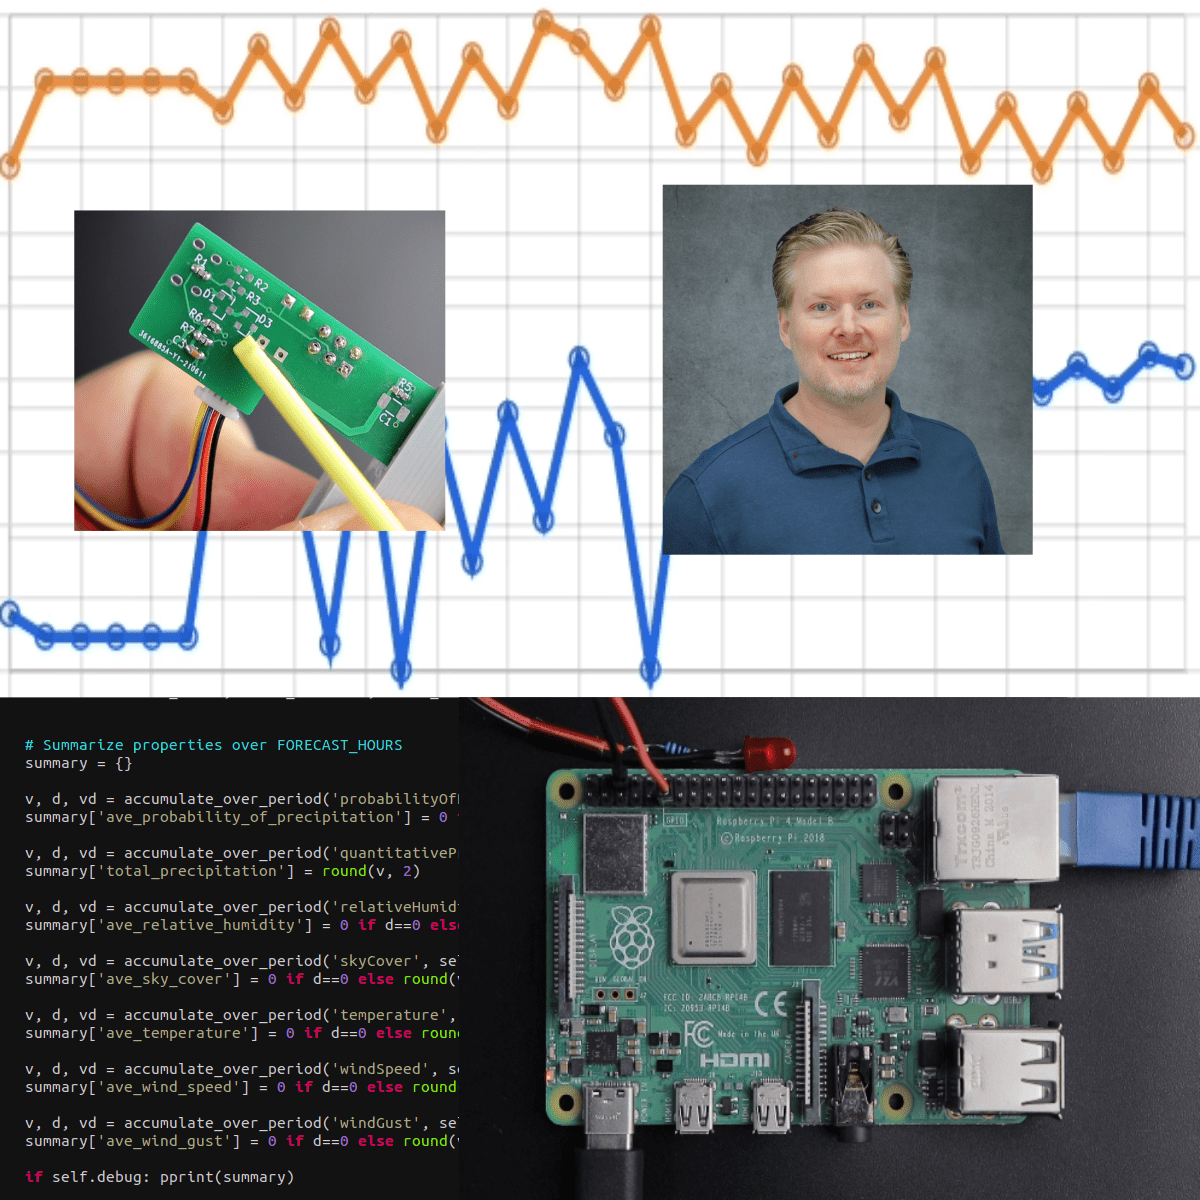
Using Sensors With Your Raspberry Pi
Key Takeaways
Integrates sensors with Raspberry Pi for data processing and project building
Original Description
This course on integrating sensors with your Raspberry Pi is course 3 of a Coursera Specialization and can be taken separately or as part of the specialization. Although some material and explanations from the prior two courses are used, this course largely assumes no prior experience with sensors or data processing other than ideas about your own projects and an interest in building projects with sensors.
This course focuses on core concepts and techniques in designing and integrating any sensor, rather than overly specific examples to copy. This method allows you to use these concepts in your projects to build highly customized sensors for your applications.
Some of the ideas covered include calibrating sensors and the trade-offs between different mathematical methods of storing and applying calibration curves to your sensors. We also discuss accuracy, precision, and how to understand uncertainty in your measurements. We study methods of interfacing analog sensors with your Raspberry Pi (or other platform) with amplifiers and the theory and technique involved in reducing noise with spectral filters. Lastly, we borrow from the fields of data science, statistics, and digital signal processing, to post-process our data in Python.
Watch on External: Coursera ↗
(saves to browser)
Sign in to unlock AI tutor explanation · ⚡30
Related Reads
📰
📰
📰
📰
Why I Stopped Using Copy.ai After Three Months (And What I Switched To Instead)
Medium · AI
The Draft That Sounds Perfect Is Usually the One to Throw Away
Medium · AI
The Draft That Sounds Perfect Is Usually the One to Throw Away
Medium · ChatGPT
Claude vs ChatGPT for Copywriting: I Tested Both with 10 Real Prompts
Medium · ChatGPT
🎓
Tutor Explanation

 DeepCamp AI